|
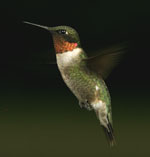
This page is an explanation of one shot. Here's
the shot:
Not too bad, standard pose, a
little feather fluff on the mid-back. First, the image info:
Camera Model Name:
Canon EOS 10D
Shooting Date/Time:
7/3/2006 6:28:43 PM
Shooting Mode:
Manual
Tv( Shutter Speed ):
1/200
Av( Aperture Value ):
13
ISO Speed:
200
Lens:
Canon EF 400mm f/5.6L USM
Flash:
Off
AF Mode:
AI Servo AF
Now, lets talk about the set
up. Here's a photo of it:
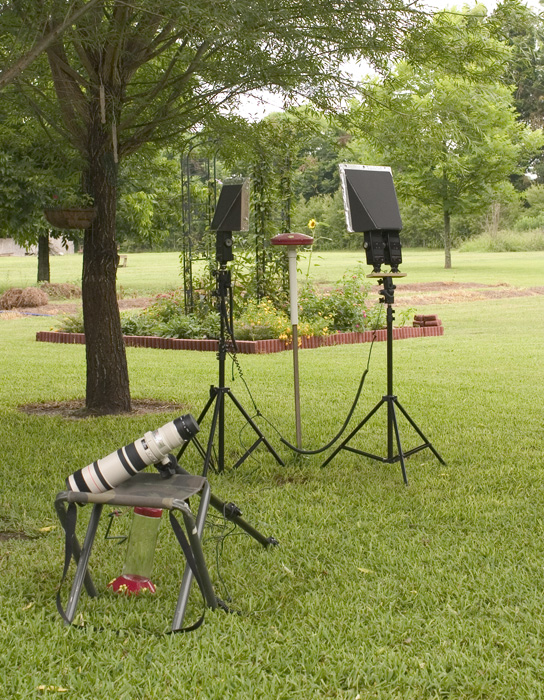
Its nothing really special.
This is my back yard. Its a cloudy day and my feeder is set up
in the shade of a few willow trees. You will notice that the
camera is disconnected from the lens that I was using so I
could take this photo with a 35mm lens. There are a few things
that I want to point out about my set up. So here is the same
image with some numbers.
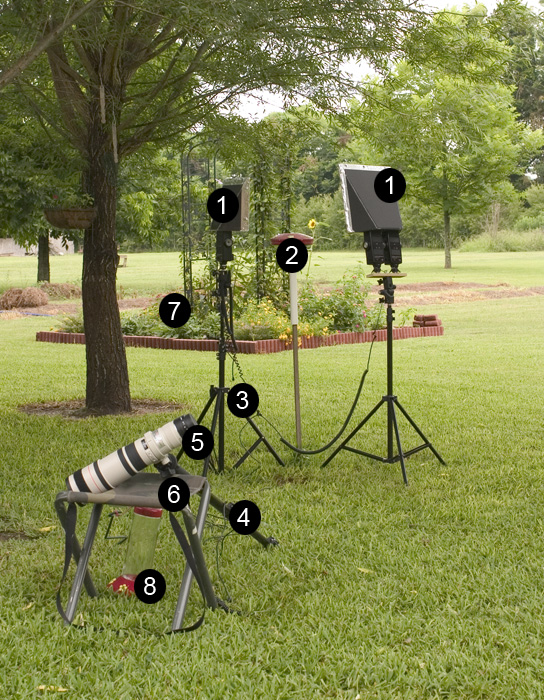
1. As
I have mentioned elsewhere on this site, I use diffusers. The
ones pictured are homemade from black foamcore, hot glue, tape
and plastic sheeting (drop cloth from Home Depot). The
diffusers sit atop Vivitar 283 flash units. You may notice
that on the right, the diffuser is sitting atop two flash
units that are mounted on a short board that I made especially
for that purpose. Otherwise, the setup uses standard light
stands purchased on EBay for not very much. The diffusers
explain the even lighting effect on the bird.
2. I
use a flat, saucer-style feeder set to a height just below
eye-level when I am seated in the stool. I have cut off the perches
because I want photos of flying birds. I have also blocked all
but one hole with thumbtacks. Thumbtacks are perfect for the
purpose: just drop in when needed and take out when not. The
feeder is supported from the bottom to keep the support out of
the way.
3.
PC-Sync cords for synchronizing the flashes. This eliminates
the sometimes bothersome E-TTL pre-flash and allows the use of
the relatively cheap Vivitar flash units instead of expensive,
dedicated ones.
4.
Monopod. This allows me to keep the camera at the ready
indefinitely without my arms tiring. It also allows me to keep
still. Hummingbirds don't like large things moving near their
feeder. bringing a camera up to your eye when the hummingbird
flies into position qualifies as "large things
moving" to a hummingbird.
5.
400mm f/5.6 lens with 36mm extension tube attached to allow me
to get closer than I could with the same lens and no extension
tube.
6.
Folding stool given to me by my brother-in-law. It is the
perfect height and is more comfortable that it looks. This
also helps to allow extended shooting sessions by keeping the
photographer from getting tired. It is about 10 feet from the
feeder.
7.
Hummingbird Garden. Contents: may night salvia; yellow
lantana; multi-colored lantana; japanese honeysuckle;
clematis; mexican heather; four o'clocks; bee balm; a
sunflower; and a butterfly bush. Feeders are great for
attracting hummingbirds; feeders and the right plants are
better.
8. I
took down the other feeder. Hummingbirds will feed far away
from you if you give them the chance.
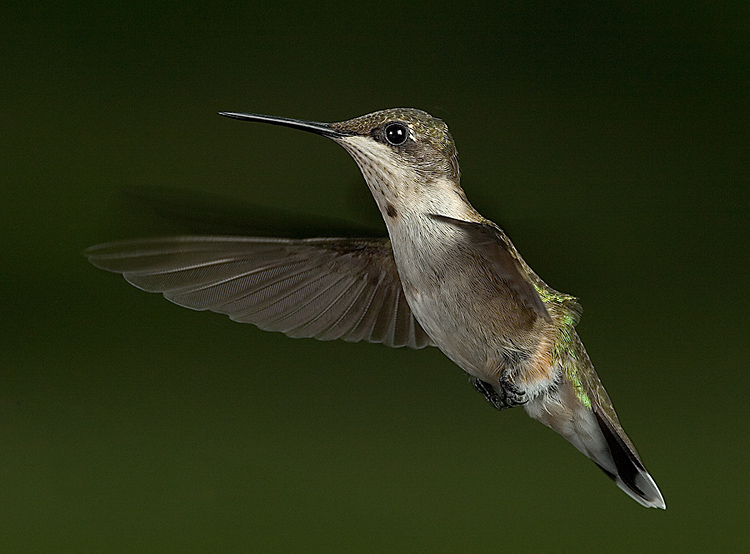
For this
particular photo I sat and waited approximately 20 minutes
before a juvenile male approached. I let it sip a few times
before shooting and then took this image. I got one more shot
of it before it flew away. The other shot did not turn out
well. I waited another 30 minutes before my daughter (11
months old) decided that I should go inside and play with her.
So it goes.
I used to hide in
a blind but find that it is not really necessary. Keeping
still is much more important than hiding. Though the blind may
help a little, setting it up is really more of a hassle than
it is worth, and my blind is easy to set up.
Post processing
was rather straightforward. I cloned out a bit of the feeder,
adjusted the levels and increased the saturation slightly.
Then I used Nik Sharpener Pro for "Raw
Pre-sharpening," erased the sharpening effect on the
background and then resized. Then I used the Epson printer
setting of Nik Sharpener Pro for final sharpening.
Maybe tomorrow I will
see an adult male and get that ruby throat in the image . . .
|